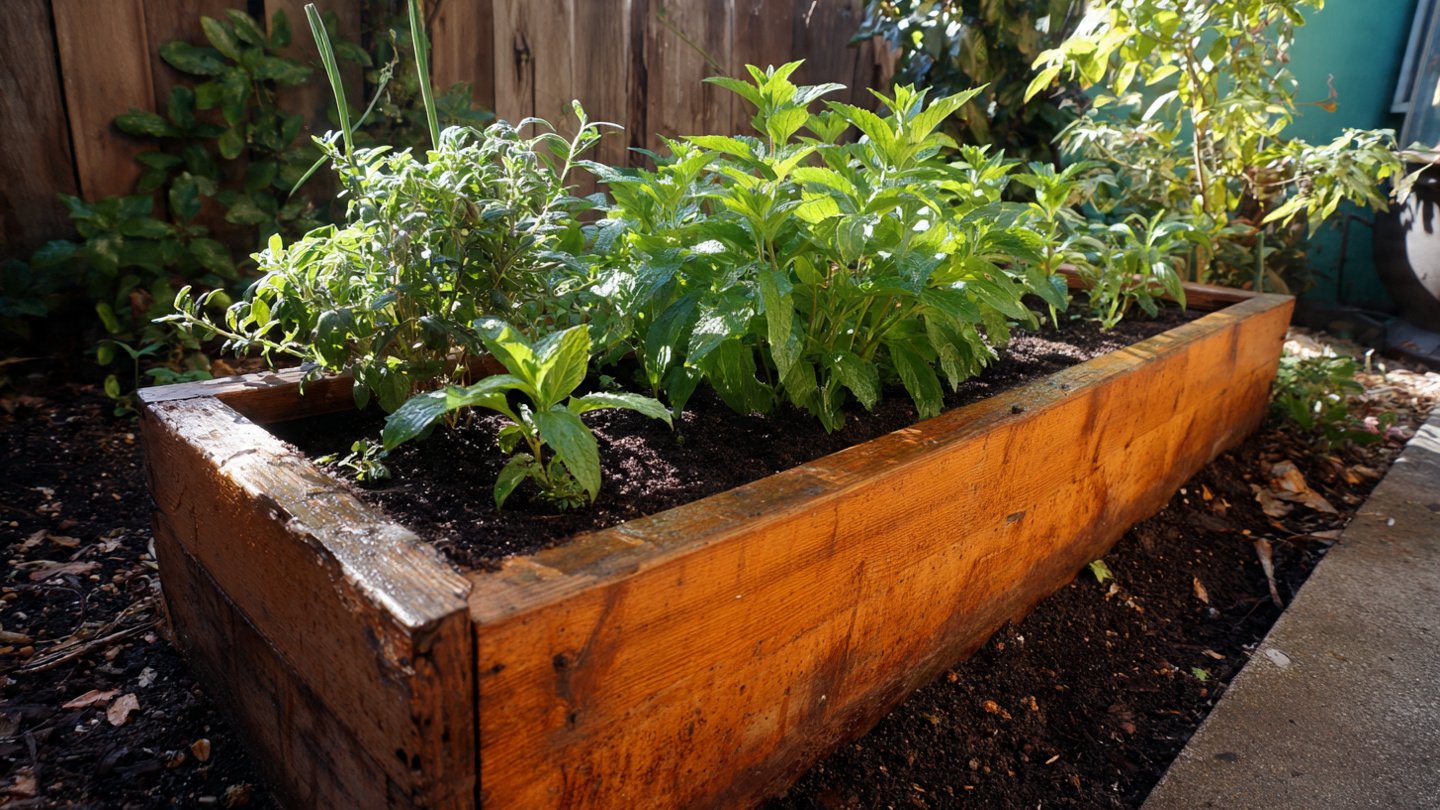
Creating a self-watering garden bed is a fantastic way to ensure that your plants stay hydrated without constant upkeep. This project is especially valuable for those with busy lifestyles, as it reduces the time and effort needed for watering plants regularly. Additionally, a self-watering system can save water and promote healthier plant growth. You’ll be pleased to know that creating an efficient self-watering garden bed can be done on a tight budget—specifically, for under five dollars!
Understanding the Basics of Self-Watering Systems
A self-watering garden bed utilizes a reservoir of water that plants can access as needed. This system uses capillary action to draw moisture from the reservoir into the soil. The primary components of a self-watering garden bed typically include:
- Water reservoir
- Soil medium
- Wicking material
- Plants
Materials Required
Before we dive into the steps of creating your self-watering garden bed, let’s look at the materials you will need. Many items can be found around the house or at local stores for minimal cost:
- Plastic Container or Bucket: A large plastic container can act as your reservoir. Check in recycling bins for unwanted containers that can be repurposed.
- Wicking Material: This can be a strip of cloth, rope, or even garden fabric that draws water up to the soil.
- Potting Soil: You might already have this. If not, a small bag of potting soil can be found at garden stores or supermarkets for a low cost.
- Plants or Seeds: Choose plants suited to your climate and preferences.
- Optional: Drill or knife: To create drainage holes.
Step-by-Step Guide
Step 1: Prepare the Container
Start by preparing your plastic container. If you’re using a bucket or a large storage container, ensure it is clean and has no harmful residues from previous contents. Using a drill (or a knife), create a few holes in the bottom of the container. This will facilitate drainage and is essential for the self-watering mechanism to work effectively.
Step 2: Add Wicking Material
Next, take your chosen wicking material and cut it to size so that it can reach both the bottom of the container and extend out into the soil. Place one end of the wicking material into the holes you created earlier, allowing it to hang into the reservoir. This will help draw water from the reservoir into the soil above.
Step 3: Fill with Soil
Now, add potting soil above the reservoir. Fill the container with soil, leaving some space near the top for the plants. Make sure the wicking material is evenly distributed throughout the soil, ensuring efficient moisture transfer.
Step 4: Add Your Plants
Select your plants or seeds and plant them in the soil according to their spacing and depth requirements. Make sure to water the plants thoroughly after planting to help them settle into their new environment.
Step 5: Fill the Reservoir
Now it’s time to fill the reservoir with water. Carefully pour water into the container to avoid displacing soil. Fill it nearly to the top of the wicking material, but leave enough space for air to circulate.
Step 6: Maintain Your Self-Watering Garden Bed
After setting up your self-watering garden bed, check the moisture levels regularly. You may need to replenish the water in the reservoir every few days, depending on the weather conditions and the plant’s growth stage. With time, you’ll get a feel for how often to refill it.
Benefits of a Self-Watering Garden Bed
A self-watering garden bed provides numerous benefits, including:
- Water efficiency: Reduces water waste, as plants take what they need.
- Consistent moisture: Maintains soil moisture at ideal levels, ensuring healthy plant growth.
- Lower maintenance: Saves time and effort on watering duties.
- Better nutrient absorption: Plants that receive consistent moisture can better absorb nutrients from the soil.
Conclusion
Creating a self-watering garden bed for under five dollars is not only feasible but also highly beneficial for any gardening enthusiast. By utilizing simple materials, this project offers an innovative way to ensure your plants stay hydrated and healthy while saving you time and resources. As you embark on this journey, you’ll appreciate not only the cost-effectiveness but also the ease of maintaining a garden that thrives in various conditions. Whether you have a few herbs or a more extensive vegetable garden, a self-watering system can indeed transform your gardening experience!
FAQs
1. How often should I refill the water reservoir?
Checking the reservoir every few days is recommended, especially during hot weather when evaporation occurs more quickly. Refill as needed to ensure the wicking material stays moist.
2. Can I use this system for all types of plants?
While many plants can thrive in self-watering systems, each has unique water needs. Ensure the plants you choose are suitable for the growing conditions provided by your self-watering garden bed.
3. What if my plants are not growing well?
Consider factors like the amount of sunlight, soil quality, or plant spacing. Ensure your self-watering system is functioning correctly, and adjust the light and nutrients as necessary for optimal growth.
4. Can I build a larger self-watering system?
Absolutely! The principles of a self-watering garden bed can be scaled up using larger containers or multiple beds to accommodate more plants. Just be mindful of proper drainage and wicking material placement.
5. Is it necessary to use potting soil?
While potting soil is ideal because it retains moisture effectively, you can use garden soil as long as it has good drainage and aeration properties. Mixing in organic material can enhance moisture retention.