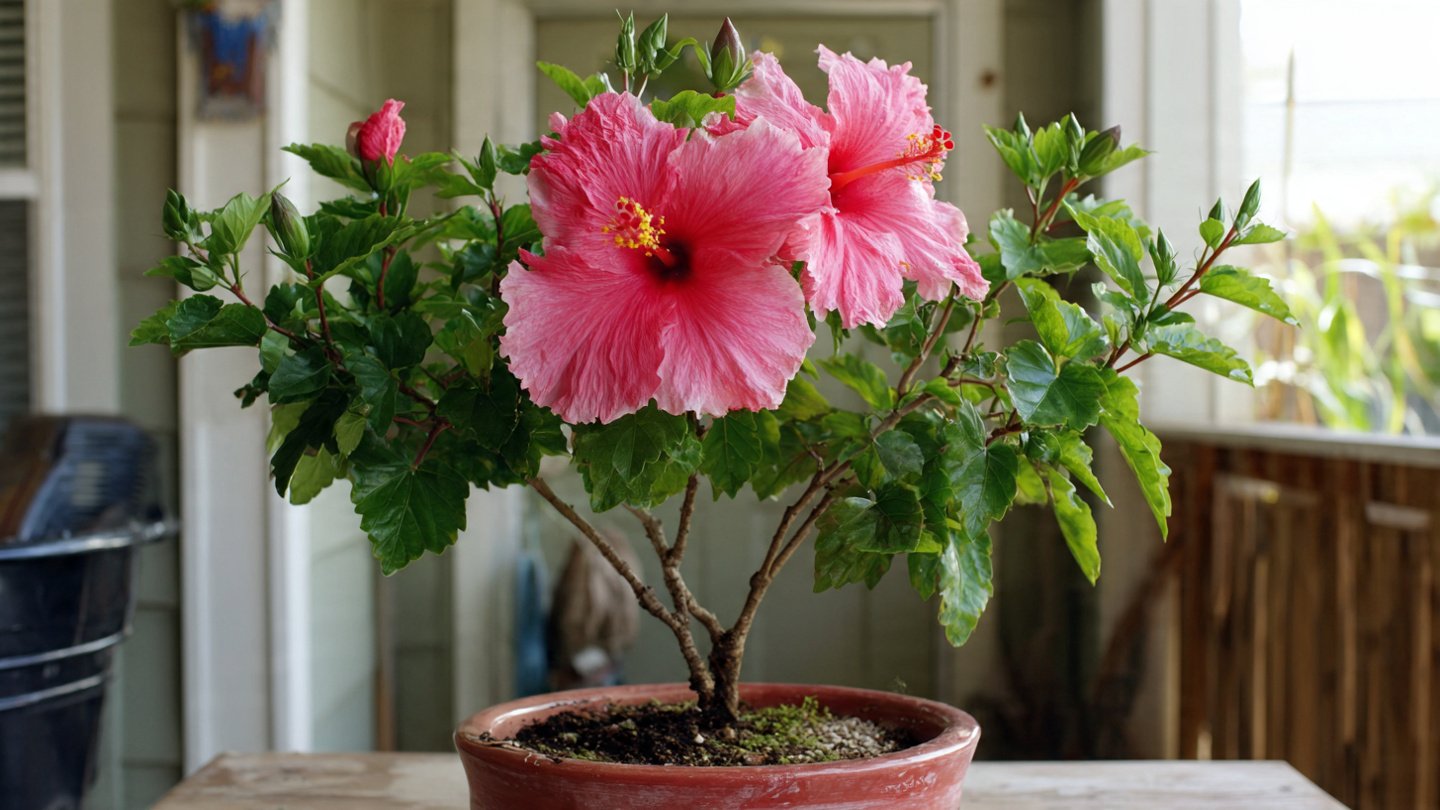
The hibiscus plant, known for its stunning, large flowers and tropical appeal, is cherished by gardeners worldwide. Growing hibiscus from softwood cuttings is not only a cost-effective method to propagate these beautiful plants, but it can also yield impressive results when done correctly. This article will guide you through the process of growing huge hibiscus plants from softwood cuttings effortlessly, covering all the necessary steps and tips you need to ensure success.
What Are Softwood Cuttings?
Softwood cuttings are young, green stems that are cut from the mother plant during its active growth phase. They are usually taken in late spring or early summer when the plant is flourishing. The term ‘softwood’ refers to the flexible, tender portions of the stem that have not yet matured into woody, hard stems. These cuttings have the highest success rate for rooting and can lead to vigorous, healthy plants when given the proper care.
Why Choose Softwood Cuttings for Hibiscus?
Choosing softwood cuttings for hibiscus propagation offers several advantages:
- Higher Success Rate: Softwood cuttings root more easily compared to hard stem cuttings.
- Faster Growth: The young stems grow more rapidly, enabling quick establishment.
- Cost-Effective: Propagating from cuttings eliminates the need for purchasing new plants.
- Genetic Consistency: Cuttings provide an identical genetic makeup as the parent plant, ensuring consistent flower quality.
Materials Needed
Before beginning the process of taking softwood cuttings, gather the following materials:
- Sharp, clean pruning shears or scissors
- Rooting hormone (optional but recommended)
- Small pots or seed trays
- Well-draining potting soil
- Plastic wrap or a humidity dome
- Watering can or spray bottle
- Grow lights (optional, depending on light conditions)
Step-by-Step Guide to Growing Hibiscus from Softwood Cuttings
Step 1: Taking the Cuttings
1. Choose a healthy, vigorous hibiscus plant. Look for stems that are young, green, and free of diseases or pests.
2. Using sharp pruning shears, cut a 4-6 inch segment from the tip of a softwood stem. Ensure the cutting has at least 2-3 sets of leaves.
3. Remove the lower leaves, leaving only a couple of leaves at the top. This reduces water loss and directs the plant’s energy toward rooting.
Step 2: Preparing the Cuttings
1. Optional: Dip the cut end of the stem into rooting hormone to encourage faster root development. Tap off any excess powder.
2. Prepare your pots or seed trays by filling them with well-draining potting soil. Moisten the soil slightly, but ensure it isn’t soggy.
Step 3: Planting the Cuttings
1. Make a hole in the soil with your finger or a pencil to avoid disturbing the rooting hormone if used.
2. Insert the cut end of the stem into the hole, ensuring that at least one leaf node is buried in the soil. Pat the soil around the base to secure it.
3. Repeat the process for remaining cuttings, spacing them appropriately to allow airflow.
Step 4: Creating a Humid Environment
1. To retain moisture and encourage rooting, cover the pots or trays with plastic wrap or a humidity dome. This creates a mini greenhouse effect.
2. Place the cuttings in a warm, bright location, but avoid direct sunlight which can overheat them. A temperature of around 70-75°F (21-24°C) is ideal.
Step 5: Caring for the Cuttings
1. Check the moisture level regularly. Water gently using a spray bottle to avoid disturbing the cuttings.
2. After a few weeks, start checking for roots by gently tugging the cuttings. If you feel resistance, roots are likely developing.
3. Once roots are established (typically within 4-6 weeks), gradually expose the cuttings to outdoor conditions to acclimatize them before planting them in their final locations.
Transplanting Your New Hibiscus
Once your hibiscus cuttings have developed strong roots, it’s time to transplant them:
- Choose a sunny location with well-draining soil for your hibiscus.
- Dig a hole large enough to accommodate the root ball of each cutting.
- Carefully transplant the cuttings, ensuring you don’t damage their roots.
- Water thoroughly after transplanting and apply mulch to retain moisture and suppress weeds.
Conclusion
Growing huge hibiscus plants from softwood cuttings is an easy and rewarding experience. By following the steps outlined in this guide, you can successfully propagate your beloved hibiscus and enjoy lush, vibrant blooms in your garden. With minimal effort, you’ll be able to expand your hibiscus collection or share the joy of gardening with friends and family. Remember to be patient, as rooting can take several weeks, but once established, your hibiscus will flourish beautifully.
FAQs
1. How long does it take for hibiscus cuttings to root?
Typically, hibiscus cuttings will root within 4 to 6 weeks, depending on environmental conditions and care. Patience is essential!
2. Can I grow hibiscus cuttings in water?
Yes, some gardeners prefer to root hibiscus cuttings in water, but this method is less favorable because the cuttings may struggle to adapt to soil later.
3. Do I need to fertilize the cuttings?
It’s best to avoid fertilizing until the cuttings are established and have been transplanted into their final pots or garden beds.
4. What should I do if my cuttings aren’t rooting?
If your cuttings are not rooting, reassess conditions such as moisture, temperature, and light. Ensure they are not overexposed to sun or wind.
5. How do I care for my hibiscus once it’s grown?
Water your hibiscus regularly, especially during dry spells, and apply a balanced fertilizer every few weeks during the growing season for optimal growth and blooming.