Introduction
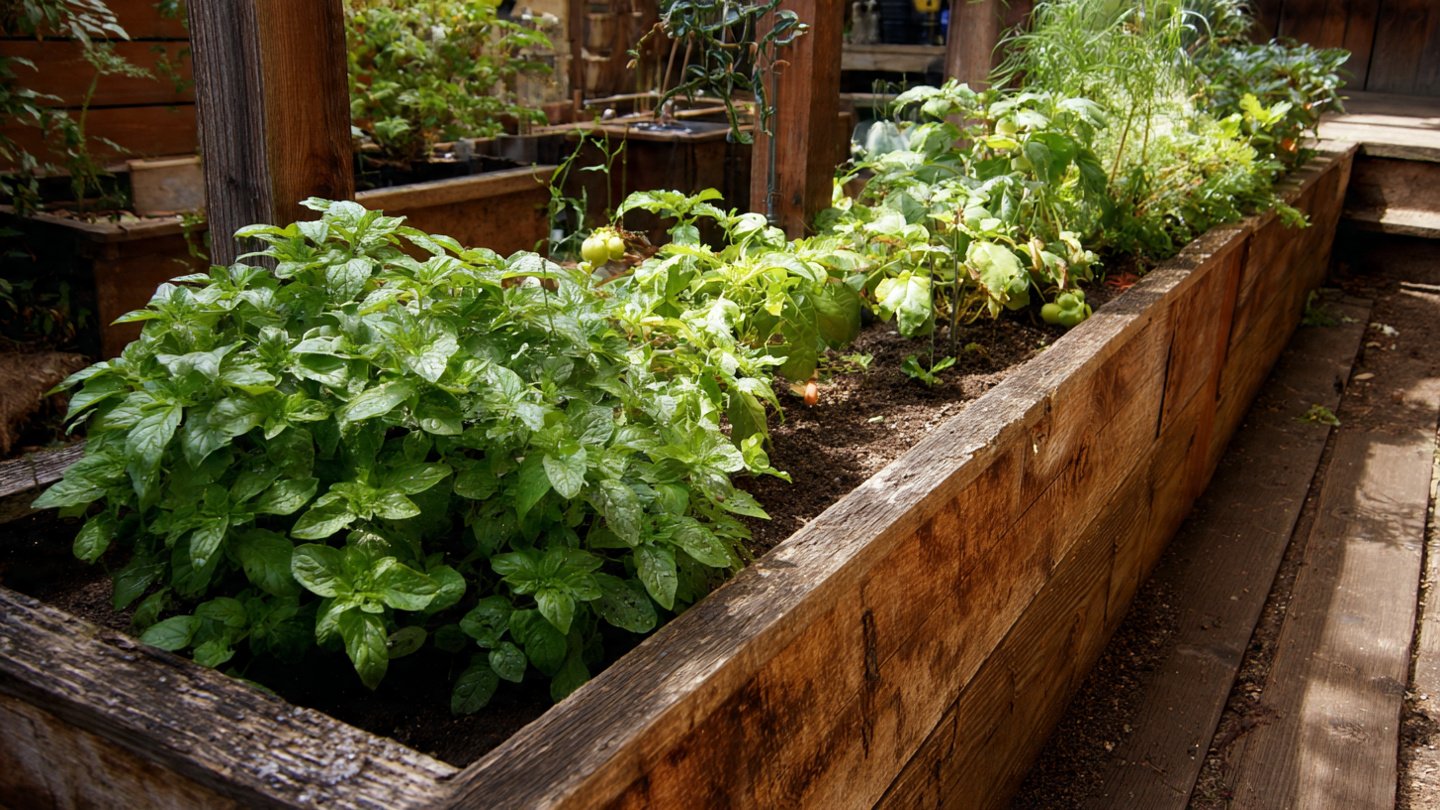
Gardening can be a rewarding and relaxing hobby, but it also requires time, energy, and constant attention to watering plants. If you want to make your gardening experience easier and more efficient, creating a self-watering garden bed is an excellent solution. Professional systems can be expensive, but with a little creativity and resourcefulness, you can make a self-watering garden bed for under five dollars. This guide will walk you through the process step by step.
Materials Required
The materials you will need are inexpensive and often found around your home or can be easily sourced at a local store. Here’s a list:
- One plastic container (bucket, tote, or old storage bin) – $1
- One smaller container (like a yogurt cup) that fits inside the larger one
- Watering wick (you can use a piece of cotton rope or cloth) -$0.50
- Soil (potting mix or garden soil) – $2
- Seeds or seedlings of your choice – $1.50
Steps to Create Your Self-Watering Garden Bed
Step 1: Prepare the Container
Start with the larger plastic container. Ensure it is clean and has no holes. If your container doesn’t have drainage holes, make a few small ones at the bottom to allow excess water to escape. It will help prevent root rot.
Step 2: Create the Water Reservoir
The small container will act as a water reservoir. Cut or poke a few holes in the sides of this smaller container for water to seep out into the soil later on. Place this smaller container upside-down in the middle of the larger container. Ensure it sits securely.
Step 3: Add the Wick
Take your cotton rope or cloth and thread one end through a hole in the smaller container. Let it hang into the larger container. The other end should lay in the bottom of the larger container, which will help draw water from your reservoir as the soil dries out. This capillary action helps keep your plants watered without over-soaking them.
Step 4: Fill with Soil
Using your potting mix or garden soil, fill around the smaller container, leaving some space for your seeds or seedlings on top. Make sure to pack the soil lightly to provide good root support for when you plant.
Step 5: Plant Your Seeds or Seedlings
Now it’s time to plant! Choose easy-to-grow plants such as lettuce, herbs, or even flowers. Depending on the size of your container, you can plant 3-4 seedlings or a row of seeds. Follow the planting directions on seed packets for optimal depth and spacing.
Step 6: Water the Garden Bed
Before you start using your self-watering system, give the garden a thorough initial watering. Slowly fill up the smaller container until water starts to seep through the holes. This initial watering will help the wick effectively pull moisture upwards.
Step 7: Monitor and Maintain
Check your garden bed regularly. Fill the smaller reservoir when needed, typically once every week or every two weeks, depending on the size of your garden bed and seasonal weather changes. Occasionally check the wick to ensure it’s not blocked and the soil remains moist but not waterlogged.
The Benefits of a Self-Watering Garden Bed
Creating a self-watering garden bed not only saves time but also ensures that your plants are consistently hydrated. Here are some benefits:
- Water Conservation: A self-watering system conserves water compared to traditional methods.
- Less Work: You won’t have to water as frequently, which means less time spent maintaining your garden.
- Better Plant Growth: Consistent moisture leads to healthier plants, minimizing stress caused by drought or overwatering.
- Cost-Effective: With just a few dollars, you can create a functional garden system.
Conclusion
Creating a self-watering garden bed for under five dollars is not only an achievable project but also a great way to engage with nature while simplifying your gardening experience. By following the steps outlined above, you can have a thriving garden that requires less oversight and provides plenty of rewards through its yield. Sustainable gardening practices are not only beneficial to your plants but also to the environment, making this project a win-win.
FAQs
Q: Can I use any type of container?
A: Yes, as long as it can hold soil and water without leaking. Just make sure it’s large enough to support your plants’ root systems.
Q: How often should I refill the water reservoir?
A: It depends on several factors, including the plant type, weather conditions, and container size. Generally, check the reservoir once a week.
Q: Will this method work for all types of plants?
A: While many types of plants can thrive in self-watering systems, root vegetables and large, thirsty plants may require more frequent watering and drainage adjustments.
Q: Can I make this system larger?
A: Absolutely! You can create larger self-watering beds using bigger containers and appropriate wicking materials.
Q: What should I do if my plants are wilting?
A: Check the soil moisture first. If the soil is dry, refill the reservoir. If it’s overly wet, consider adjusting the wick and ensuring proper drainage.